Availabilities
The rescuer can choose to give availability according to time, area and group and position.
Before we begin, we would like to tell you
Do not hesitate to contact us if you have any doubts
How to create an availability
01.
In the user Setting menu, tap the menu item “Availabilities”.


02.
Click on the “add availability” button at the bottom of the page.
03. Group
Select the Group you would like to receive alerts for. This is a required step; you must select one group for each availability you create.


04. Areas
Next, select the Area(s). Here, you can select more than one area that you would like to be alerted for.
Select at least one area. If you do not select ANY areas, the default setting is that you will be automatically alerted for all of the areas.
05. Timeframes*
-
You can set up timeframes for the time of day and hours you’d like to be alerted. If you do not select any timeframes, you can be alerted 24/7.
-
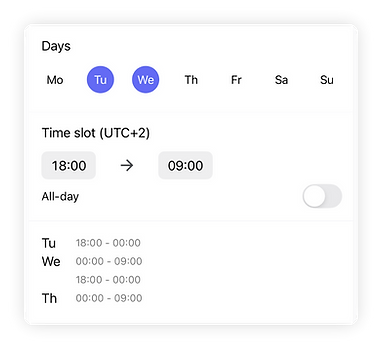
You can tap to select or deselect the days of the week when you'd like to receive alerts and customize the specific times for those alerts.
If you choose to be alerted during the night from 20:00 on Monday to 9 am the next day on Tuesday, the Availability would appear as in the image opposite.

N.B.
*You can only see timeframes if the feature is activated for your organization. The default is that you will be alerted based upon your Group and Area(s) you selected.
06.
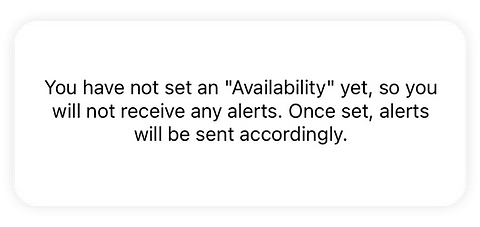
Tap “SAVE” to finalize the new Availability. If you do not have any Availabilities, you won't receive any alerts.


View and Modify Your Availabilities
You can look at the list of your Availabilities that you have created under the menu item “Availabilities”
-
If you tap on the Availability to modify it, you will see two buttons appear at the bottom. You can either tap 'DELETE' to remove the Availability, or 'SAVE' to save any changes you’ve made.
Practical example
Hans is a first responder who lives in Solothurn and works in Basel. He organises his availability according to his movements during the day.

01.
He works in Basel from Monday to Friday and has selected his availability from 9 am to 6 pm.

02.
He is in Solothurn at the weekend and has selected his availability for two whole days

How to create an availability with the position feature
01.
In the user Setting menu, tap the menu item “Availabilities”.


02.
Click on the “add availability” button at the bottom of the page.
03. Group
Select the Group you would like to receive alerts for. This is a required step; you must select one group for each availability you create.

04. Areas
Next, select the Area(s). Here, you can select more than one area that you would like to be alerted for.
Select at least one area. If you do not select ANY areas, the default setting is that you will be automatically alerted for all of the areas.
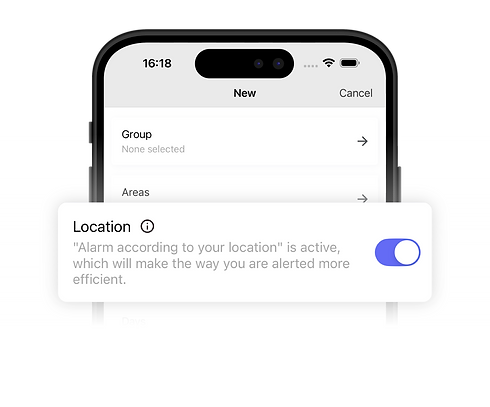
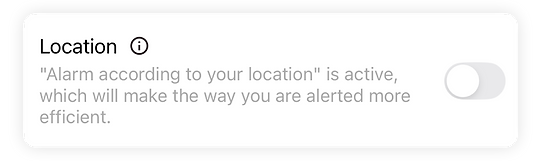
05. Position
You can choose to receive alerts based on your position using the Position feature. Use the toggle to turn this feature on or off.
-
When it's ON, you'll receive alerts based on your proximity to the areas you've selected.
-
When it's OFF, you'll receive alerts for all your chosen areas, regardless of your location.
N.B. Please note if you do NOT select any areas, you will be alerted based on your position for ALL areas. If you select, for example 3 different areas, you will only be alerted based on your position for all 3 of those selected areas.
Practical example
Hans set his Availability for his hometown and an alert is triggered that should notify him, but he also has the Position feature activated and he is on vacation, so he won't receive the alert. This is because his current location is outside the areas that he selected for his Availabilities.
06. Timeframes*
-
You can set up timeframes for the time of day and hours you’d like to be alerted. If you do not select any timeframes, you can be alerted 24/7.
-
You can tap to select or deselect the days of the week when you'd like to receive alerts and customize the specific times for those alerts.
If you choose to be alerted during the night from 20.00 on Monday to 9 am the next day on Tuesday, the Availability would appear as follows:
N.B.
*You can only see timeframes if the feature is activated for your organization. The default is that you will be alerted based upon your Group and Area(s) you selected.
07.
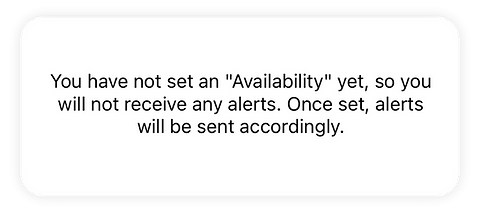
Tap “SAVE” to finalize the new Availability. If you do not have any Availabilities, you won't receive any alerts.
View and Modify Your Availabilities
You can look at the list of your Availabilities that you have created under the menu item “Availabilities”
-
If you tap on the Availability to modify it, you will see two buttons appear at the bottom. You can either tap 'DELETE' to remove the Availability, or 'SAVE' to save any changes you’ve made.
How you will be alerted: with the Position feature
If you select certain areas but do NOT use the Position feature
If you select certain areas but do NOT use the Position feature, then you will be alerted only for those areas based upon the following criteria
-
If you have the position feature turned on, and are far away from the intervention site, you will NOT be alerted
-
If you have the position feature turned on and are closer to the intervention site, then you WILL be alerted
If you do NOT use the Position feature
If you do NOT use the Position feature, then you will be alerted for selected areas.